
On Saturday, Aaron and I attended an all-day workshop presented by the Michigan Historic Preservation Network. It was for historic property owners and covered topics like wood window restoration, lead dangers, plaster repair, masonry, and weatherization. They also handed out a Resource Directory of folks who do restoration work in the Detroit area. Man, where was this two years ago!? It was like being casually handed a treasure map. I’ve already emailed a company to get a quote on facade repairs.
The weatherization presentation gave me a lot more information about how to insulate (and NOT insulate) a historic home. The plaster repair presentation was very good and made me extremely glad the walls held up in the Sullivan House thru its year and a half of vacancy.
The wood window restoration presentation was hands-on, and it was the one that really knocked it out of the park. Aaron and I came home ready to start tearing windows apart. We went to the hardware store to prepare, and today out came the putty knives and heat guns. The kitchen windows are what need immediate repair, but it’s possible we’ll be able to handle all the window repairs ourselves. Just very, very slowly.
It turns out the hype about energy efficient windows is mostly that: hype. You don’t lose that much of your heat thru windows (compared to other areas) and the insulation value of high-tech windows over old wood sash windows is negligible. Further, wood sash windows are fully repairable. Once repaired, ours should last another hundred years. Vinyls are meant to be trashed when they break, and they won’t last more than a few decades. Wood sash windows as old as ours are also made with old growth wood, making them invaluably solid, durable, and more insulative.
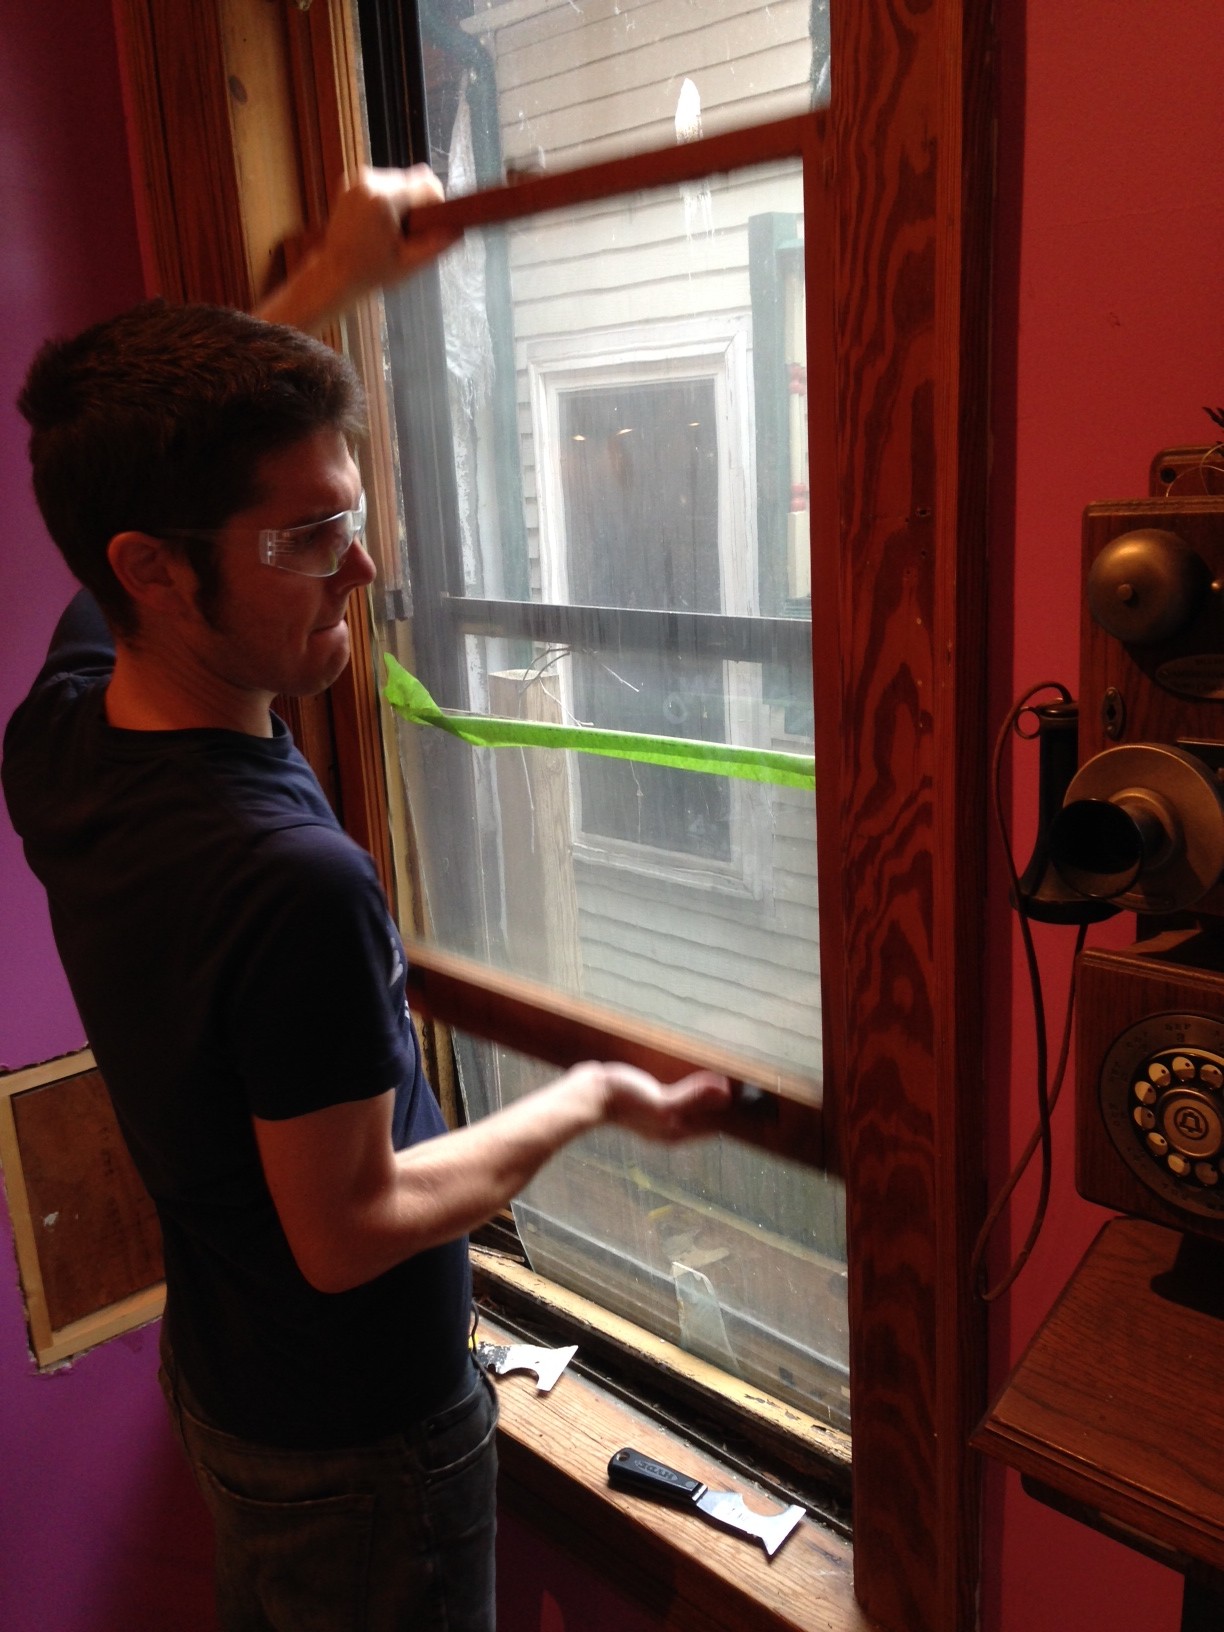
We spent all day today setting up our workspace, removing the entire first window and the lower sash of a second window, and removing the glaze and paint from them. I started with a broken section of window so it wouldn’t matter if I cracked the glass my first time. Sure enough, I managed to crack it near the end, removing one of the bits of metal shrapnel they use to secure the window pane (glaziers tacks) with a pair of pliers. No harm done, the pane already had 2 large cracks thru it. Into the trash it went.
Aaron prepped the next (still intact) window by removing the glaze and tacks and asked me to show him how to remove the piece of glass. And I promptly snapped the glass right in half. Sigh. There was still some glaze left behind, causing it to catch in the middle when I started lifting it out. That’ll teach me to go that fast. Luckily it seems cutting new pieces of glass isn’t difficult. I’m getting used to not cringing when glass breaks.
By doing this project ourselves, we’re saving boatloads of money that we can direct to the facade and carriage house. The tradeoff is that it’s going to take us years to get thru all the windows. As I said to Aaron, we have to be in the mindset of a long, slow roll. We’ll take a window or two out at a time and work on it as we have time, then rehang it when we’re done. Maybe a window will take a week, make it’ll take a few months. But we’ll get there, and we’ll get good at it eventually.
Hopefully we’ll have these two windows done by the end of October. Only 56 more to go.
3 thoughts on “Taking DIY up a notch”